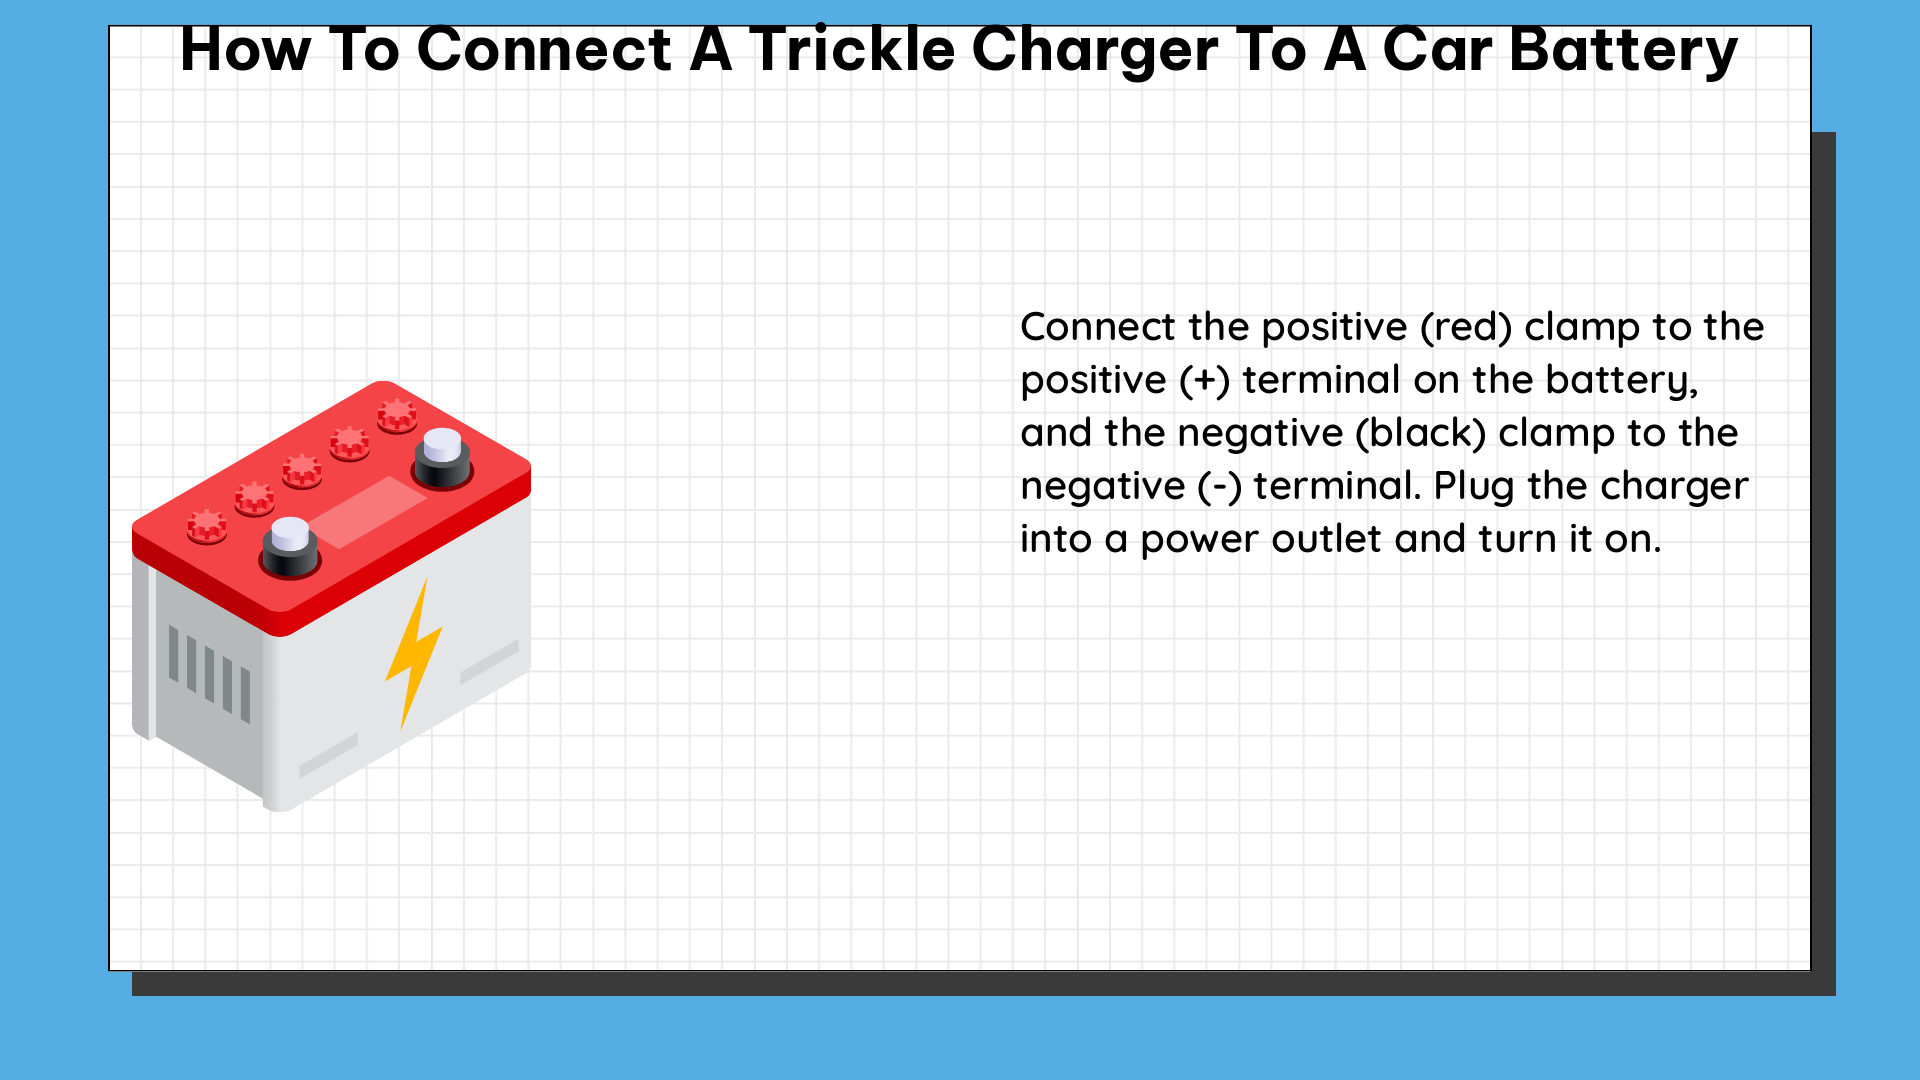
Connecting a trickle charger to a car battery is a crucial task for maintaining the health and longevity of your vehicle’s power source. This comprehensive guide will walk you through the step-by-step process, ensuring you have all the necessary information to safely and effectively connect a trickle charger to your car battery.
Selecting the Appropriate Trickle Charger
Before you begin the connection process, it’s essential to choose the right trickle charger for your car battery. The key factors to consider are the voltage and amperage of the charger, which must match the specifications of your battery.
Voltage Compatibility
- Car batteries typically operate at 12 volts, so you’ll need a trickle charger that is rated for 12V.
- Ensure the trickle charger’s voltage output matches the voltage of your car battery to avoid potential damage.
Amperage Considerations
- The amperage of the trickle charger should be appropriate for the size and capacity of your car battery.
- For smaller batteries, such as those found in motorcycles or lawn mowers, a 1-2 amp trickle charger is typically sufficient.
- For larger car batteries, a 4-10 amp trickle charger is recommended to ensure efficient and timely charging.
Trickle Charger Features
- Look for trickle chargers with automatic shut-off or float charging capabilities to prevent overcharging and battery damage.
- Some advanced trickle chargers also offer features like battery condition monitoring and maintenance mode to optimize the charging process.
Preparing the Work Area

Once you have the appropriate trickle charger, it’s time to set up the work area for a safe and successful connection.
Ventilation and Safety
- Park your vehicle in a well-ventilated area, away from any open flames, sparks, or other potential ignition sources.
- Car batteries can release hydrogen gas during the charging process, which is highly flammable and explosive.
- Ensure the work area is dry and free from any standing water or other liquids.
Accessibility and Visibility
- Position your vehicle in a way that provides easy access to the battery terminals.
- Ensure the work area is well-lit, allowing you to clearly see the battery and connection points.
Connecting the Trickle Charger
With the work area prepared, you can now begin the process of connecting the trickle charger to your car battery.
Identifying Battery Terminals
- Locate the positive (+) and negative (-) battery terminals, which are typically marked with the corresponding symbols.
- Ensure the battery terminals are clean and free from any corrosion or debris.
Attaching the Negative Cable
- Connect the negative (-) cable of the trickle charger to a suitable ground location, such as a bare metal spot on the vehicle’s frame or a large bolt attached to the chassis or engine block.
- Do not attach the negative cable directly to the negative battery terminal, as this can cause a spark and potentially lead to an explosion or fire.
Attaching the Positive Cable
- Connect the positive (+) cable of the trickle charger directly to the positive battery terminal, ensuring a secure and tight connection.
Plugging in the Trickle Charger
- Once the cables are properly connected, plug the trickle charger into a grounded electrical outlet.
- Ensure the trickle charger is turned on and that the display or indicator lights are functioning correctly.
Monitoring the Charging Process
During the charging process, it’s crucial to monitor the trickle charger and the battery to ensure the proper and safe operation.
Checking the Charging Status
- Regularly check the trickle charger’s display or indicator lights to ensure the battery is being charged correctly.
- If the charger fails to begin charging after a few minutes, this may indicate a dead or severely discharged battery, and you should turn off the charger and seek further assistance.
Preventing Overcharging
- Set a timer or schedule to periodically check on the charging progress and avoid leaving the trickle charger connected for an extended period.
- Overcharging a battery can lead to damage, reduced battery life, and even safety hazards.
Disconnecting the Trickle Charger
- Once the battery is fully charged, as indicated by the trickle charger’s display or automatic shut-off, disconnect the charger from the power source first, then remove the cables from the battery terminals.
By following these comprehensive steps, you can safely and effectively connect a trickle charger to your car battery, ensuring optimal battery performance and longevity.
Reference:
- How to Use a Trickle Charger on a Car Battery
- Should Negative Trickle Charger Clips Be Attached to the Battery Negative Terminal?
- How to Use a Trickle Charger on a Car Battery
- How to Use a Trickle Charger
- How to Use a Trickle Charger on a Car Battery

The lambdageeks.com Core SME Team is a group of experienced subject matter experts from diverse scientific and technical fields including Physics, Chemistry, Technology,Electronics & Electrical Engineering, Automotive, Mechanical Engineering. Our team collaborates to create high-quality, well-researched articles on a wide range of science and technology topics for the lambdageeks.com website.
All Our Senior SME are having more than 7 Years of experience in the respective fields . They are either Working Industry Professionals or assocaited With different Universities. Refer Our Authors Page to get to know About our Core SMEs.